

 cart(
cart(
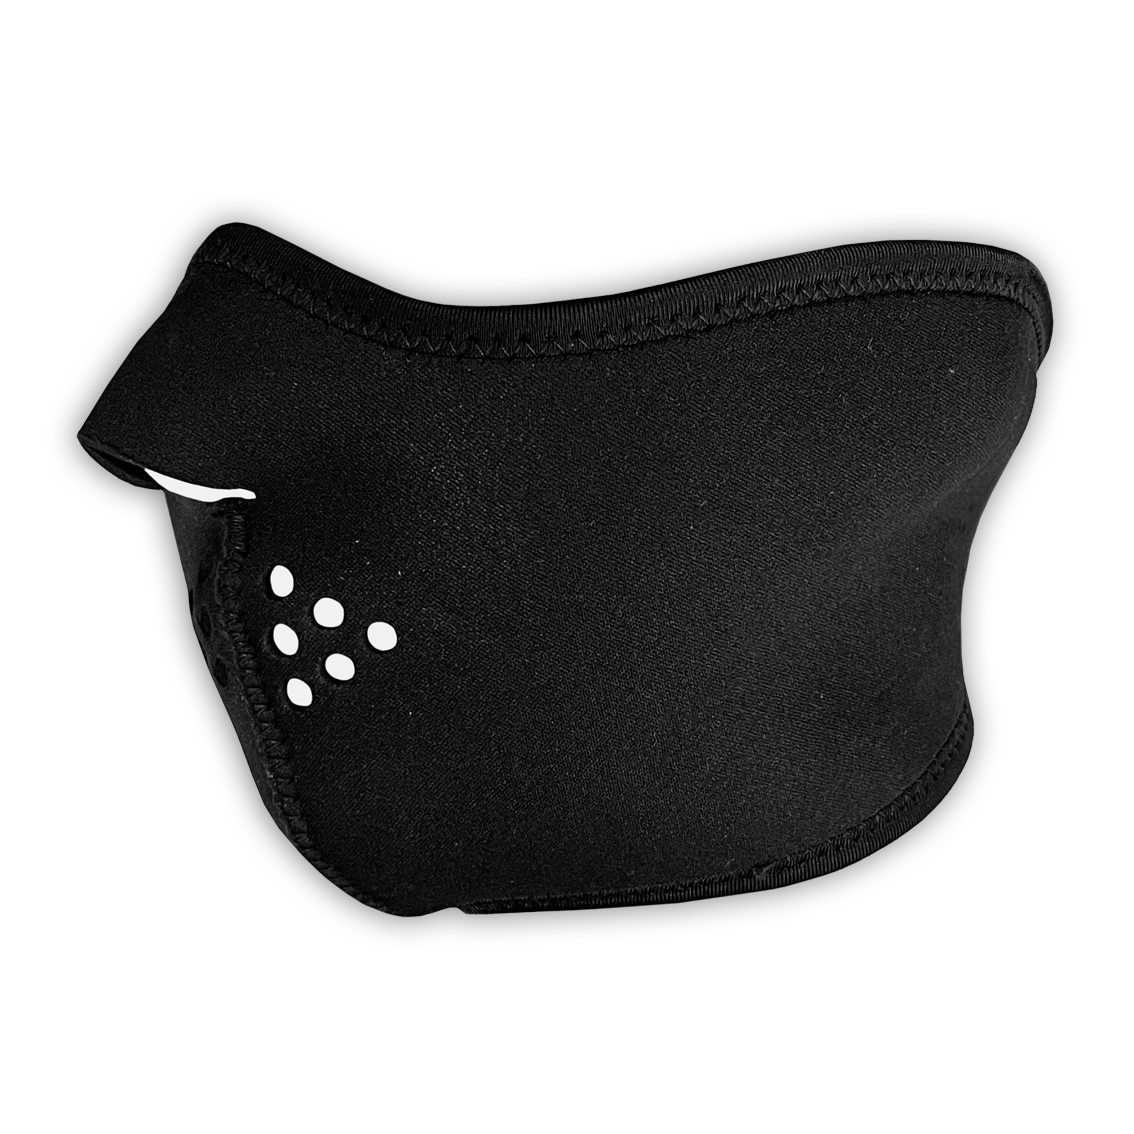
![Shark - Protective Chinos [CE2]](/assets/full/S210211.jpg?20240515220004)


Below charts are 'generic' as a guide, however please be sure to use the product-specific charts when available.
|
MENS SIZE |
XXS |
XS |
S |
M |
L |
XL |
2XL |
3XL |
4XL |
5XL |
6XL |
|
CHEST (CM) |
87 |
92 |
97 |
102 |
107 |
112 |
117 |
122 |
127 |
132 |
137 |
|
|
|
|
|
|
|
|
|
|
|
|
|
|
MENS PANTS |
72 |
77 |
82 |
87 |
92 |
97 |
102 |
107 |
112 |
117 |
122 |
127 |
132 |
137 |
|
ALPHA SIZE |
XXS |
XS |
S |
M |
L |
XL |
2XL |
3XL |
4XL |
5XL |
|
|
|
|
|
WAIST (CM) |
72 |
77 |
82 |
87 |
92 |
97 |
102 |
107 |
112 |
117 |
122 |
127 |
132 |
137 |
|
WAIST (INCHES) |
28 |
30 |
32 |
34 |
36 |
38 |
40 |
42 |
44 |
46 |
48 |
50 |
52 |
54 |
Below is a generic size chart to assist guide You, however please be sure to use product-specific charts where applicable.
|
LADIES SIZE |
4 |
6 |
8 |
10 |
12 |
14 |
16 |
18 |
20 |
22 |
24 |
26 |
28 |
30 |
|
ALPHA SIZE |
XXS |
XS |
XS-S |
S |
M |
L |
L-XL |
XL |
2XL |
3XL |
4XL |
5XL |
|
|
|
BUST (CM) |
76.5 |
79 |
84 |
89 |
94 |
99 |
104 |
111 |
116 |
121 |
126 |
131 |
136 |
141 |
|
WAIST (CM) |
58.5 |
61 |
66 |
71 |
76 |
81 |
86 |
93 |
98 |
103 |
108 |
113 |
118 |
123 |
|
HIP (CM) |
86.5 |
89 |
94 |
99 |
104 |
109 |
114 |
121 |
126 |
131 |
136 |
141 |
146 |
151 |
Please keep in mind that there are different styles and cuts, so please read the description when available and the fabric makeup of the product.
Often riding apparel needs to fit ‘tightly’ which can feel a little restrictive at first, this is so that the protective material such as the armour and or kevlar stays/sits in the ‘right’ place, do not compare the ‘feel/fit’ to non-riding clothing/gear.
Here’s how to measure shoe size:
NB* Since your feet can expand as you age, during pregnancy, or due to certain medical conditions, we recommend taking your measurements at least every few years.³ This will save you money on ill-fitting fitting footwear and ensure your feet are as comfortable as possible.
SIGN UP FOR EMAILS TO GET THE LATEST OFFERS
Monday: 9am - 5pm
Tuesday: 9am - 5pm
Wednesday: 9am - 5pm
Thursday: 9am - 7pm
Friday: 9am - 5pm
Saturday: 9am - 3pm
Sunday: CLOSED

Add your favourites to cart

Select Afterpay at checkout

Log into or create your Afterpay account, with instant approval decision

Your purchase will be split into 4 payments, payable every 2 weeks
All you need to apply is to have a debit or credit card, to be over 18 years of age, and to be a resident of country offering Afterpay
Late fees and additional eligibility criteria apply. The first payment may be due at the time of purchase
For complete terms visit afterpay.com/terms

 6/142 Siganto Dr, Helensvale QLD 4212
 (07) 5573 5118